This knowledge base article applies to both iReformat: Automated resume formatting service and Recruiteze: applicant tracking system.
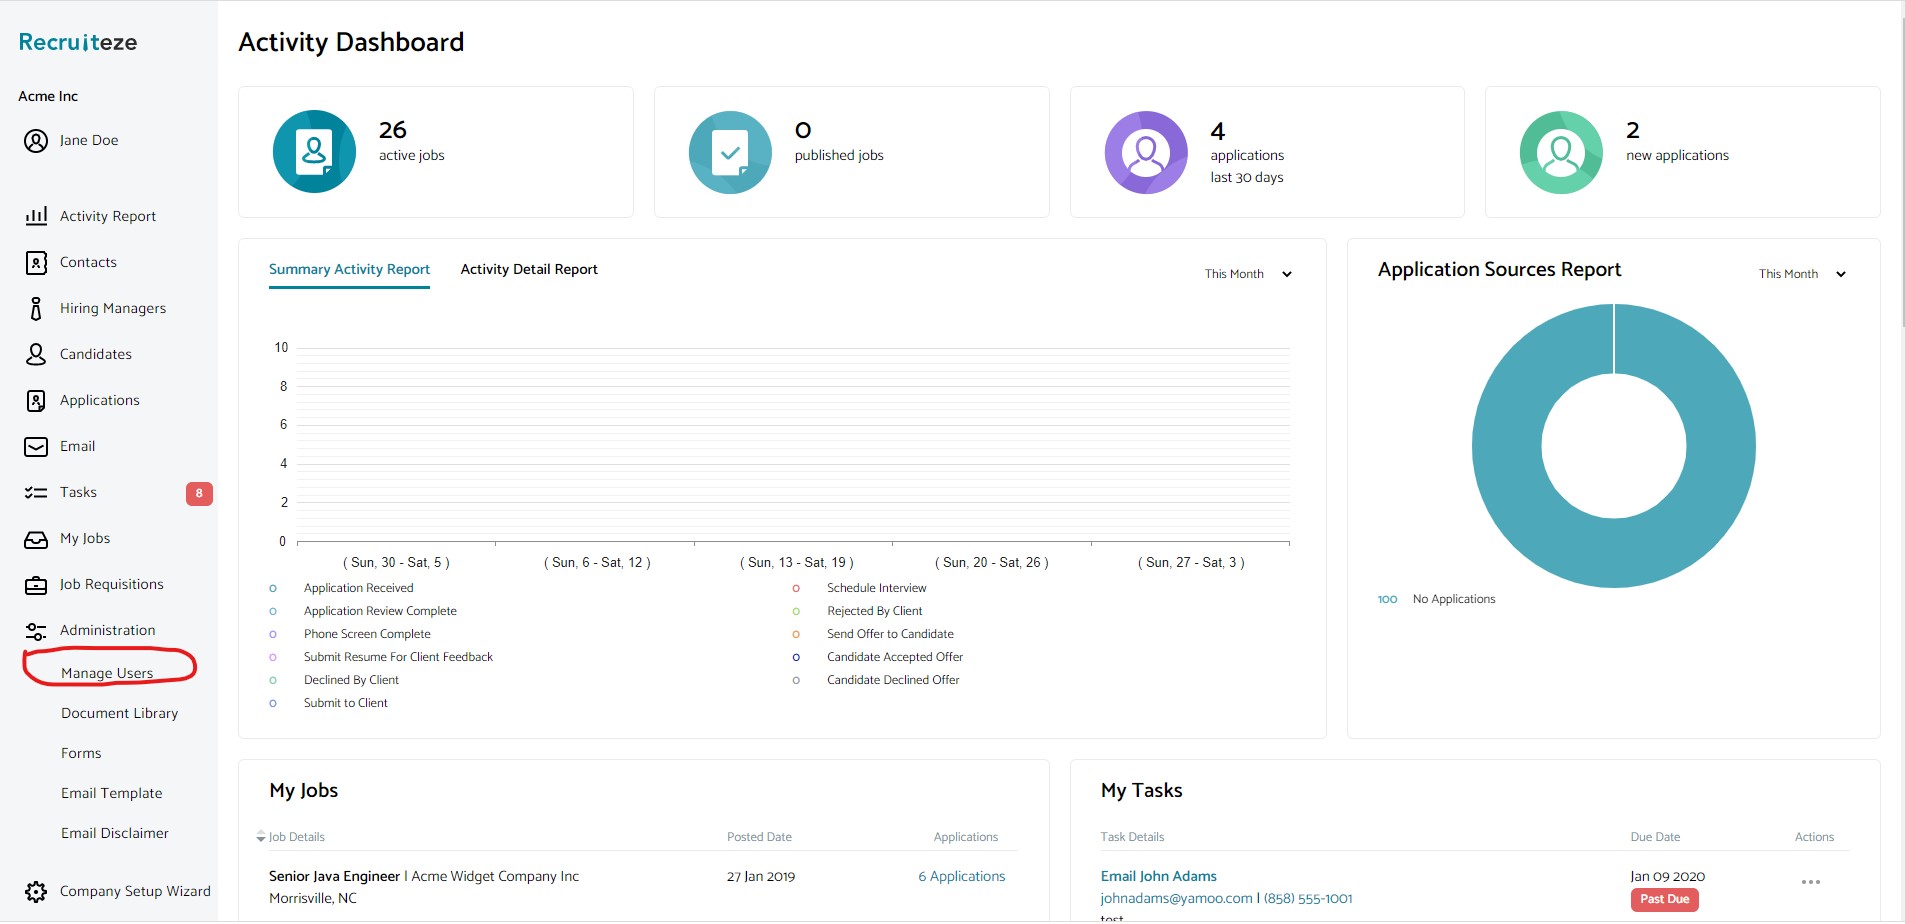
You can manage your users, either adding or removing from the Manage Users view. From the left menu, click the Manage Users sub menu under the Administration main menu.
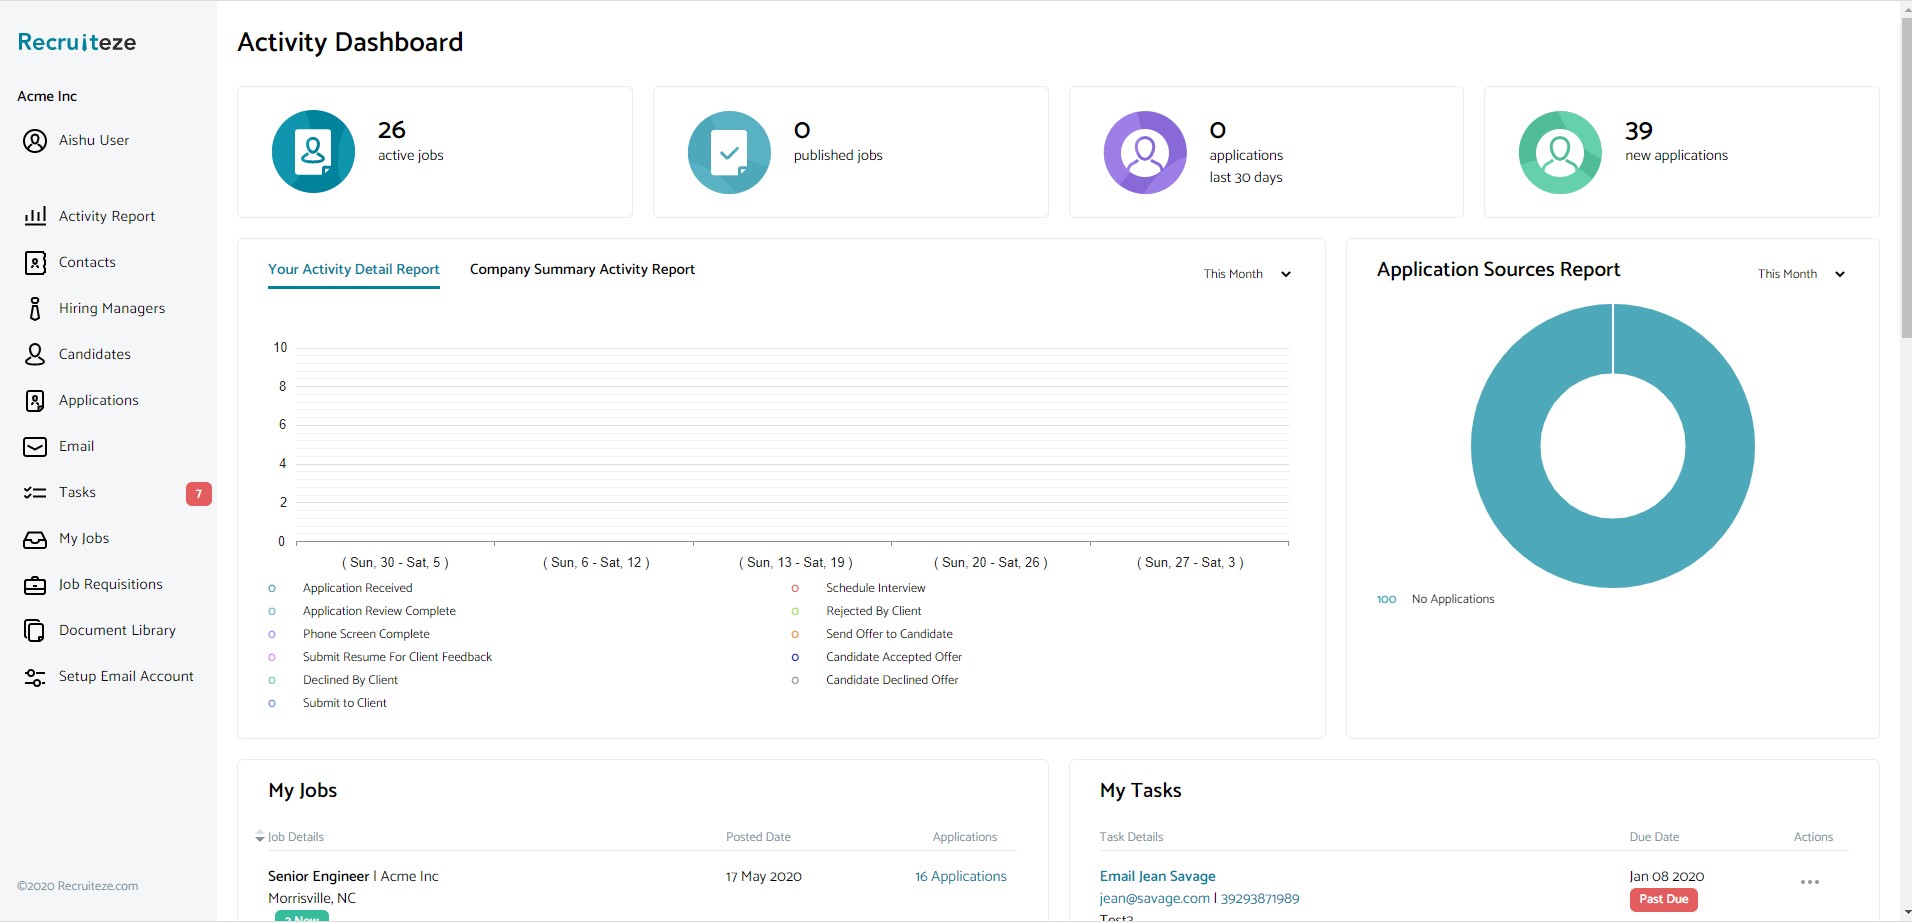
Adding a new user to the account is very simple, all you need is the user’s email address and name. There are two types of users allowed an administrator role and a user role. A user of type “Administrator” can see a lot more options like user administration, career page setup, create tags, create activities, email template management and several other admin options. The user of type “User” cannot see or perform any of the administrative actions.
The next image shows what an user of type/role “User” will see when they login to the system.
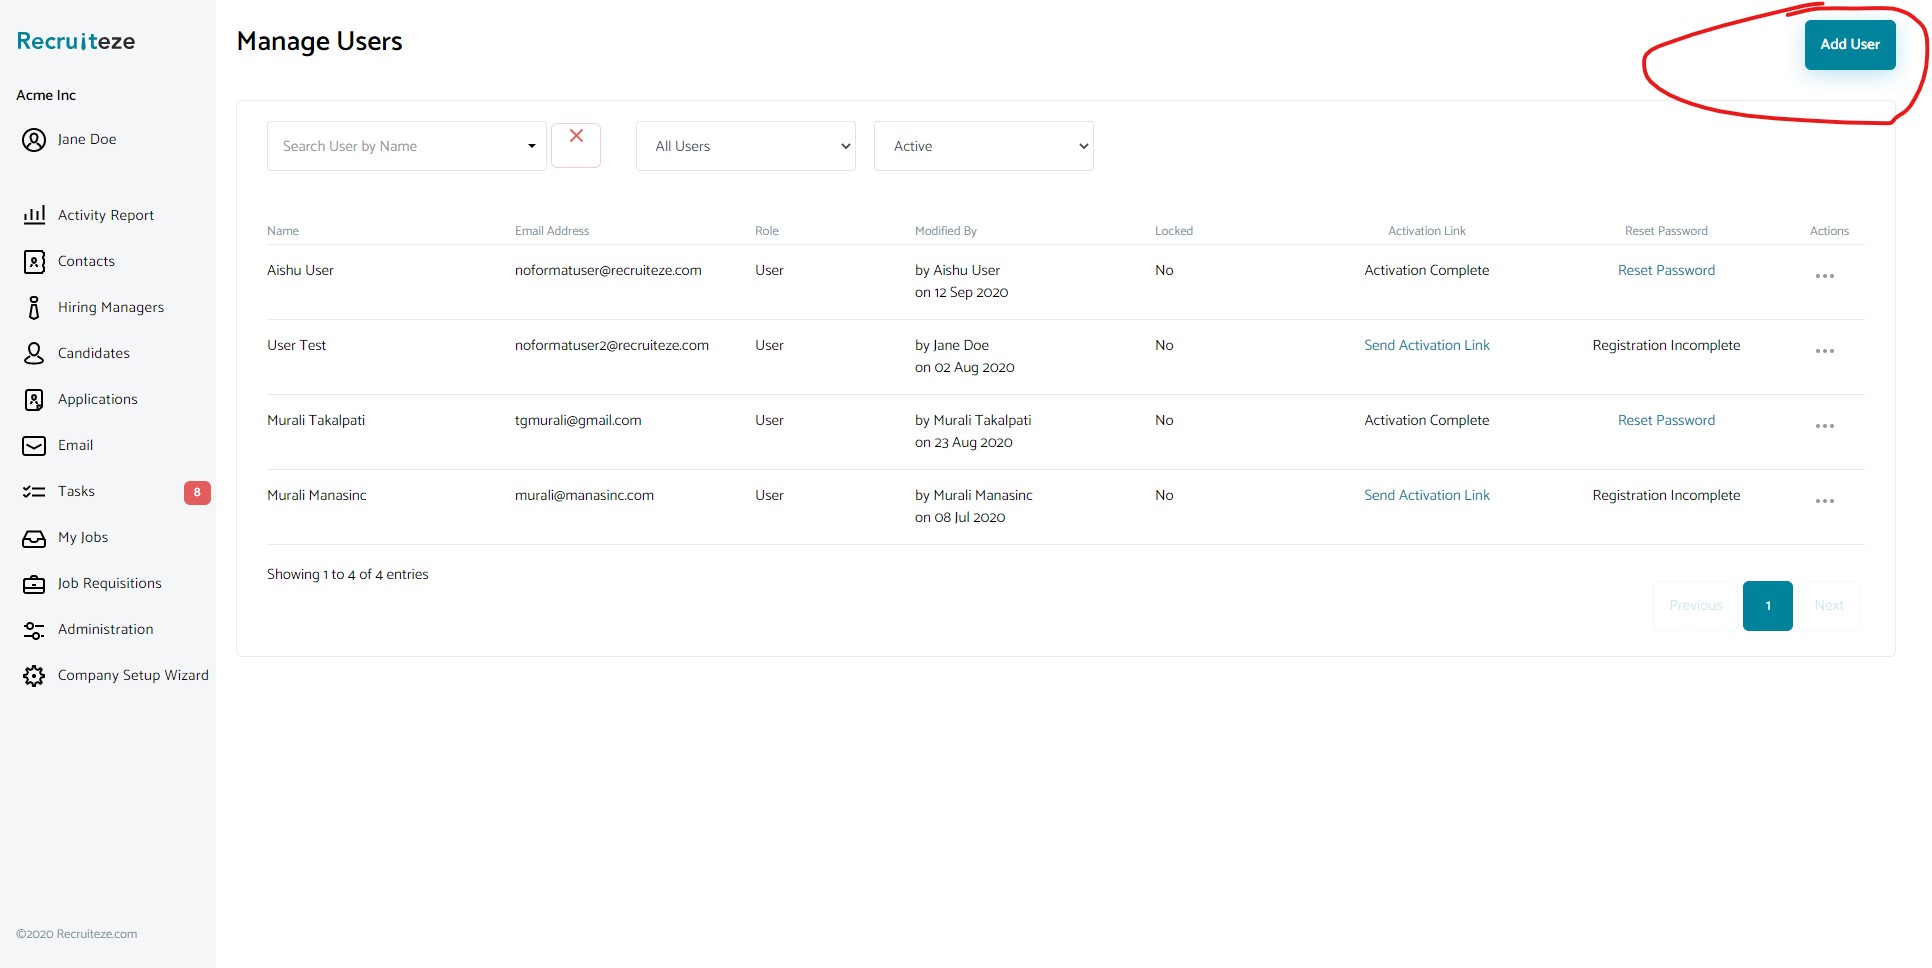
The next image shows the Manage Users view:
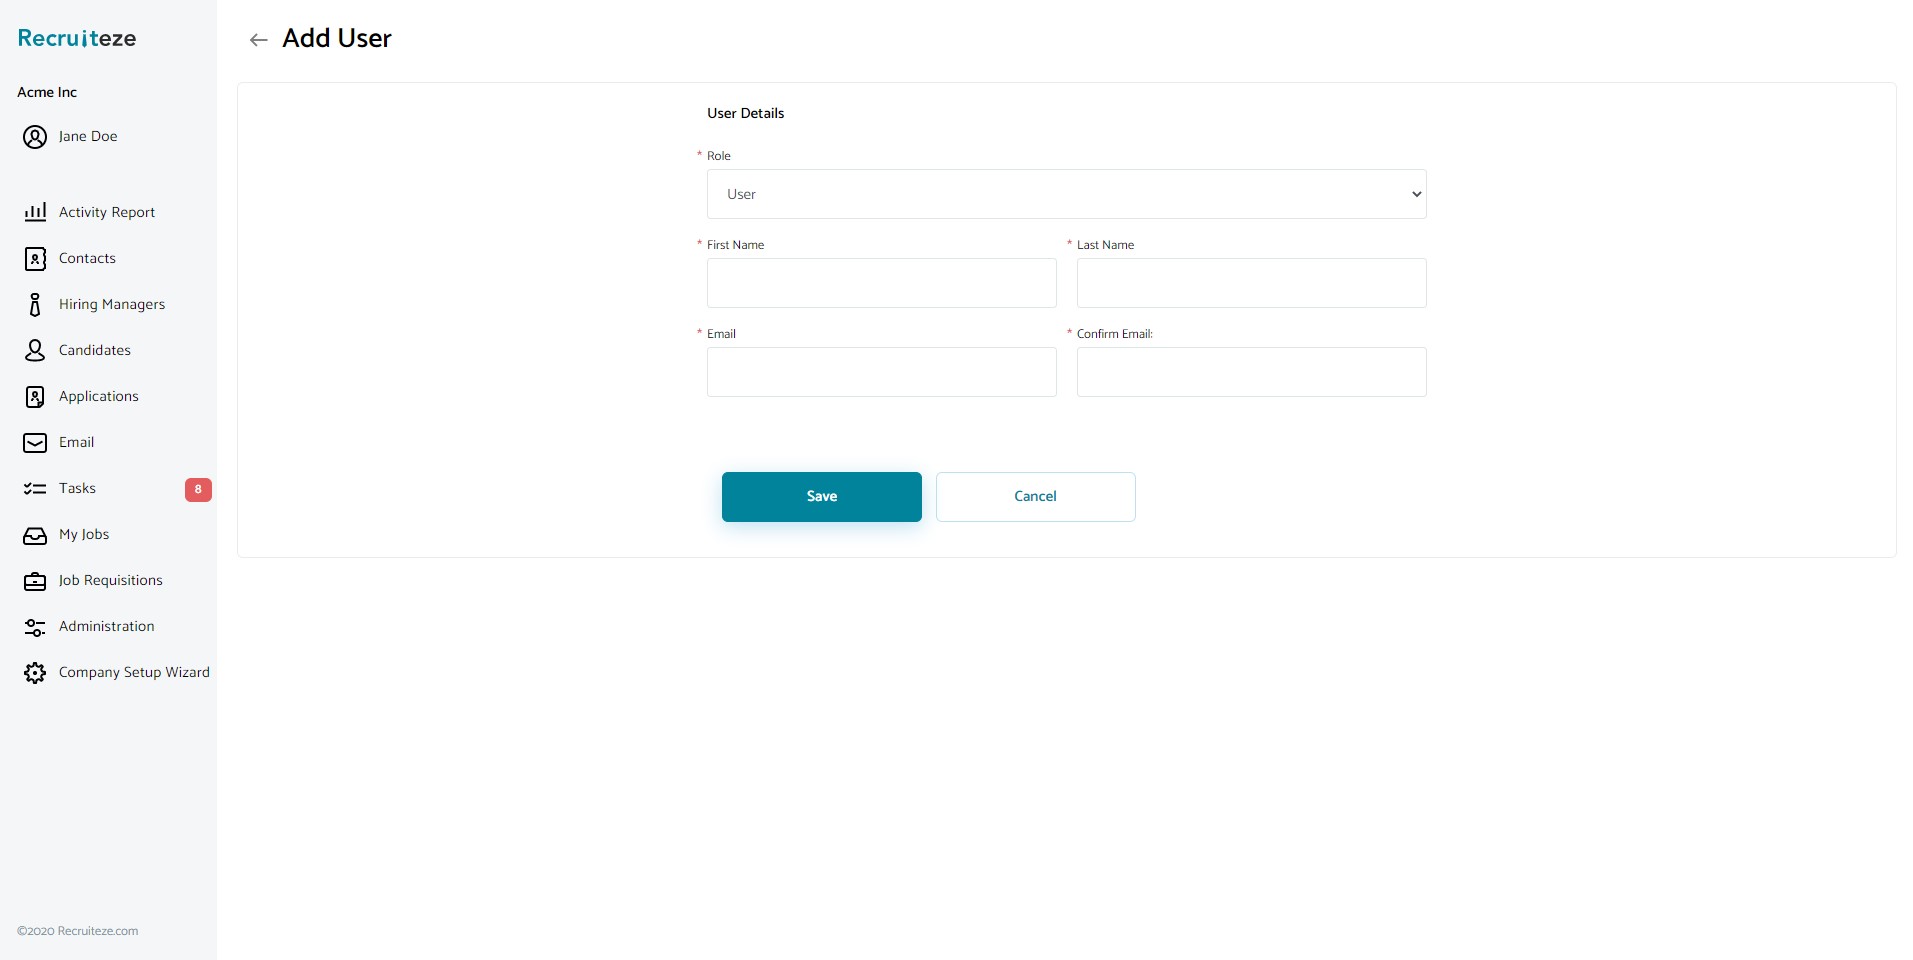
Click on the add user button to add a new user. The add user screen is shown below:
Once you enter the first name, last name and email address and add the user. An email goes out to the user with a link to join your organization account. They have to click on the link to complete their registration by setting up their password and contact details. Once they do that, they become part of the organization and can start using the system right away.
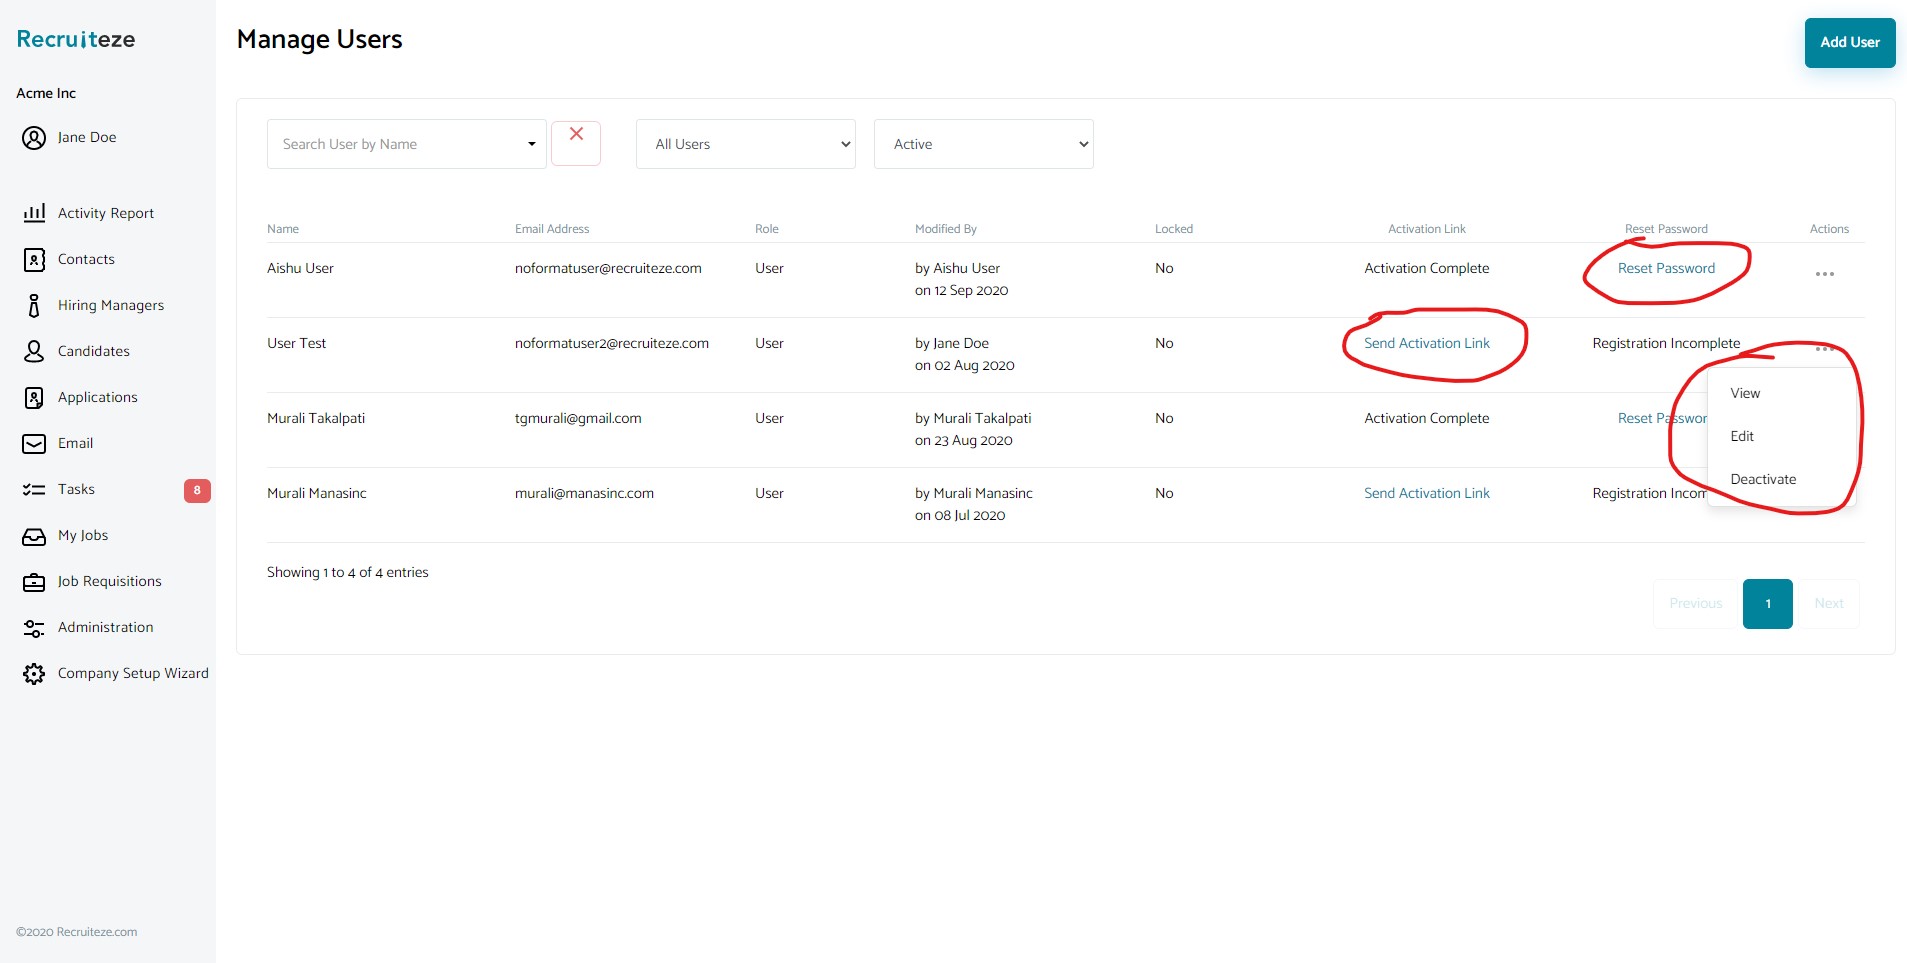
From the manage users view, you can do the following actions.
- Reset the password
- Resend the activation link, if the user has not completed the registration
- Edit
- Deactivate – Remove an user
Image below shows all the management options highlighted:
Once an user is deactivated, they will no longer be able to access your organization account.
If you still have any questions/suggestions/feedback, please send out an email to support at recruiteze dot com.
Online Applicant Tracking System
If you are not a Recruiteze customer. Recruiteze offers simple recruitment automation tools to increase your efficiency and profitability.
Try Recruiteze tools free now.
Related articles:

